Installation

We will be installing Nessus on a Local Kali VM.
Other OS's will not be covered in this walkthrough, in which case the official installation guide can be found below.
https://docs.tenable.com/nessus/Content/GettingStarted.htm
Step #1

Goto https://www.tenable.com/products/nessus/nessus-essentials and register an account.
You will need to do this for an activation code.
Step #2

We will then download the Nessus-#.##.#-debian6_amd64.deb file
Save it to your /Downloads/ folder
Step #3
In the terminal we will navigate to that folder and run the following command:
sudo dpkg -i package_file.deb
Remember to replace package_file.deb with the file name you downloaded.

Step #4
We will now start the Nessus Service with the command:
sudo /bin/systemctl start nessusd.service

Step #5
Open up Firefox and goto the following URL:
You may be prompted with a security risk alert.
Click Advanced... -> Accept the Risk and Continue

Step #6
Next, we will set up the scanner.
Select the option Nessus Essentials
 Clicking the Skip button will bring us to a page, which we will input that code we got in the email from Nessus.

Step #7
Fill out the Username and Password fields. Make sure to use a strong password!

Step #8
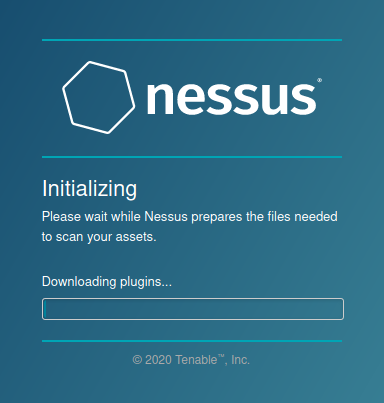
Nessus will now install the plugins required for it to function.

This will take some time, which will depend on your internet connection and the hardware attached to your VM.
If the progress bar appears to be not moving, it means you do not have enough space on the VM to install.
Step #9
Log in with the account credentials you made earlier.

Step #10
You have now successfully installed Nessus!

Last updated